


Education
A Guide to Homegrown Garlic with Cass McCarthy

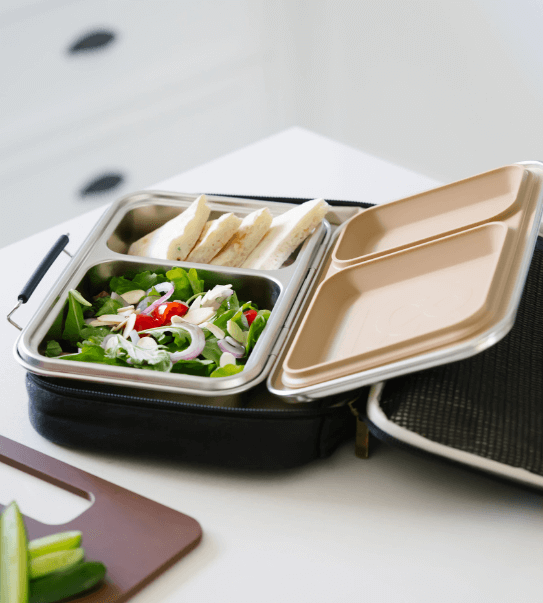
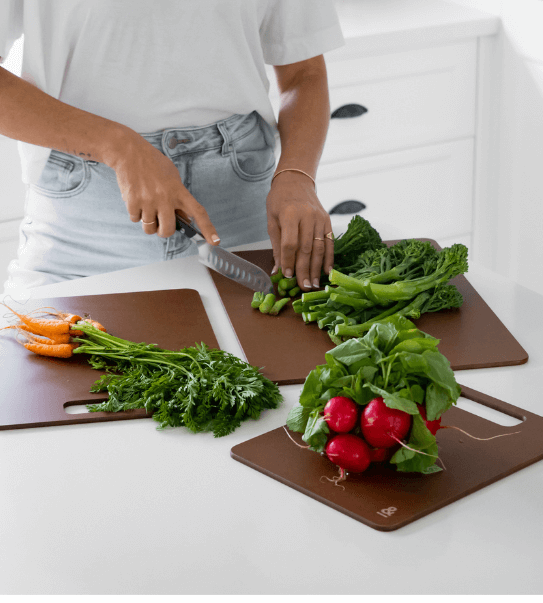
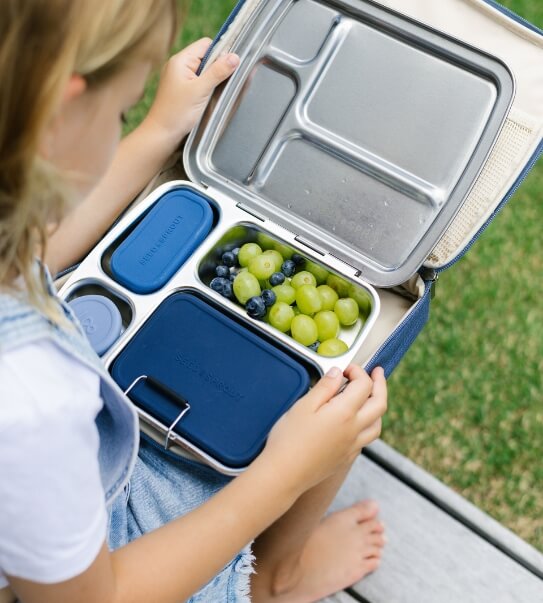
We visited Cass McCarthy's dreamy abode for our recent Mini Farmers Market Set shoot. Cass' garden is overflowing with amazing produce and it well and truly inspired us to get stuck into our garden beds and plant some new delicious goodies for the season ahead, starting with garlic!
If you're looking to grow your own at home Cass has shared her easy guide with us below.
--
Let’s be honest, garlic is one of the most delicious vegetables that truly makes everything better. With the exception of sweets, I’m hard pressed to think of a dish I cook that doesn’t begin with sauteing this aromatic staple. Although it is a slow maturing crop, growing garlic at home is really quite simple and doesn't require much garden space. Once harvested and properly dried it will store for many months, meaning that with little effort you can grow a year-long supply for your home, as well as saving seed to plant the following season. Here is a quick guide to growing garlic at home, something that I encourage anyone with garden space to do!
- Selecting seed: There are two main classifications that garlic varieties fall under, hardneck or softneck, and which variety you select will depend on your climate. Hardneck varieties will produce a scape, whereas only a few softneck varieties will. I recommend buying organic garlic from your local farmers market as you can be sure that the variety is climatically suited to your region, plus farmers are usually happy to offer some expert advice. Alternatively, you can source Australian garlic from an organic green grocer or purchase seed from specialty suppliers online. Once you’ve sourced your garlic, separate each bulb and keep the largest, most plump and well-formed cloves for planting. Each clove grows into a bulb, so how many you plant will depend on how much you plan to use at home or how much garden space you have.

- Preparing your garden: Garlic requires full sun throughout the growing season and prefers soil with good drainage and lots of good quality compost. It likes soil that is readily workable, so loosen it up with a fork to a depth of at least 20cm. Once you have added a thick layer compost, use a rake to gently incorporate it into the soil and create a flat surface.

- Planting: Garlic can be planted in a grid at 10-15cm, depending on the variety. Smaller varieties such as Italian purple can be planted at 10cm, while Russian garlic requires closer to 15cm. Plant each clove with the pointy end facing up, at a depth of 5cm or thumb-deep. Firm the soil afterwards and water it well. You can either cover the bed with a thick layer of organic sugarcane mulch immediately after, or wait a week or so and get a few early weedings in. Garlic has a very shallow root system and does not like being disturbed, so it helps to gently weed the bed before the shoots and roots develop.

- Growing: If you live in a region with a wet winter, you may not need to water it much at all. Water once a week if the weather is dry, increasing to 2-3 times per week once the weather warms up in Spring. You can also give the garlic an extra mineral feed of diluted worm juice or seaweed solution once a month. As it reaches maturity, a thick stalk called a scape may emerge through the centre of the foliage. Left to grow, this will develop into a purple flower which makes a beautiful cut flower and is also delicious. However, I recommend harvesting them when they first appear as tender scapes, as the plant puts its energy into flowering instead of growing a large bulb, which isn’t ideal. Garlic scapes are absolutely delicious and I always look forward to them in Spring. They can be cooked like asparagus, finely chopped and used like garlic for cooking, pickled and fermented.

- Harvesting: Garlic is ready to harvest in the first few weeks of summer. When the lower foliage begins to yellow, stop watering the plants and to allow it to dry off for about one week. If you live in a hot climate with high rainfall, you may need to do this earlier to avoid it rotting. Gently pull the entire plant out of the ground, brush away excess dirt and lie them on a rack in a dry and well ventilated area to begin curing. After a couple of weeks, the outside of the garlic will begin to feel papery and dry. At this stage you can trim the foliage so that about 15cm of stem remains, remove some of the dirty outer leaves and trim the roots. Cure for another month and then store the garlic in a dry and well ventilated spot, either hung in bunches, in hessian sacks or recycled net bags. Be sure to put aside some of your best cloves for replanting the following year. Happy growing!